Creating and managing groups
In the settings area you will also see a panel for managing groups. You can use this to add, change or remove groups. To add a group, click on the "add group" button. Similarly you can edit an existing group by clicking on the options menu for the group you want to work with and choosing "edit." Groups include the following options:
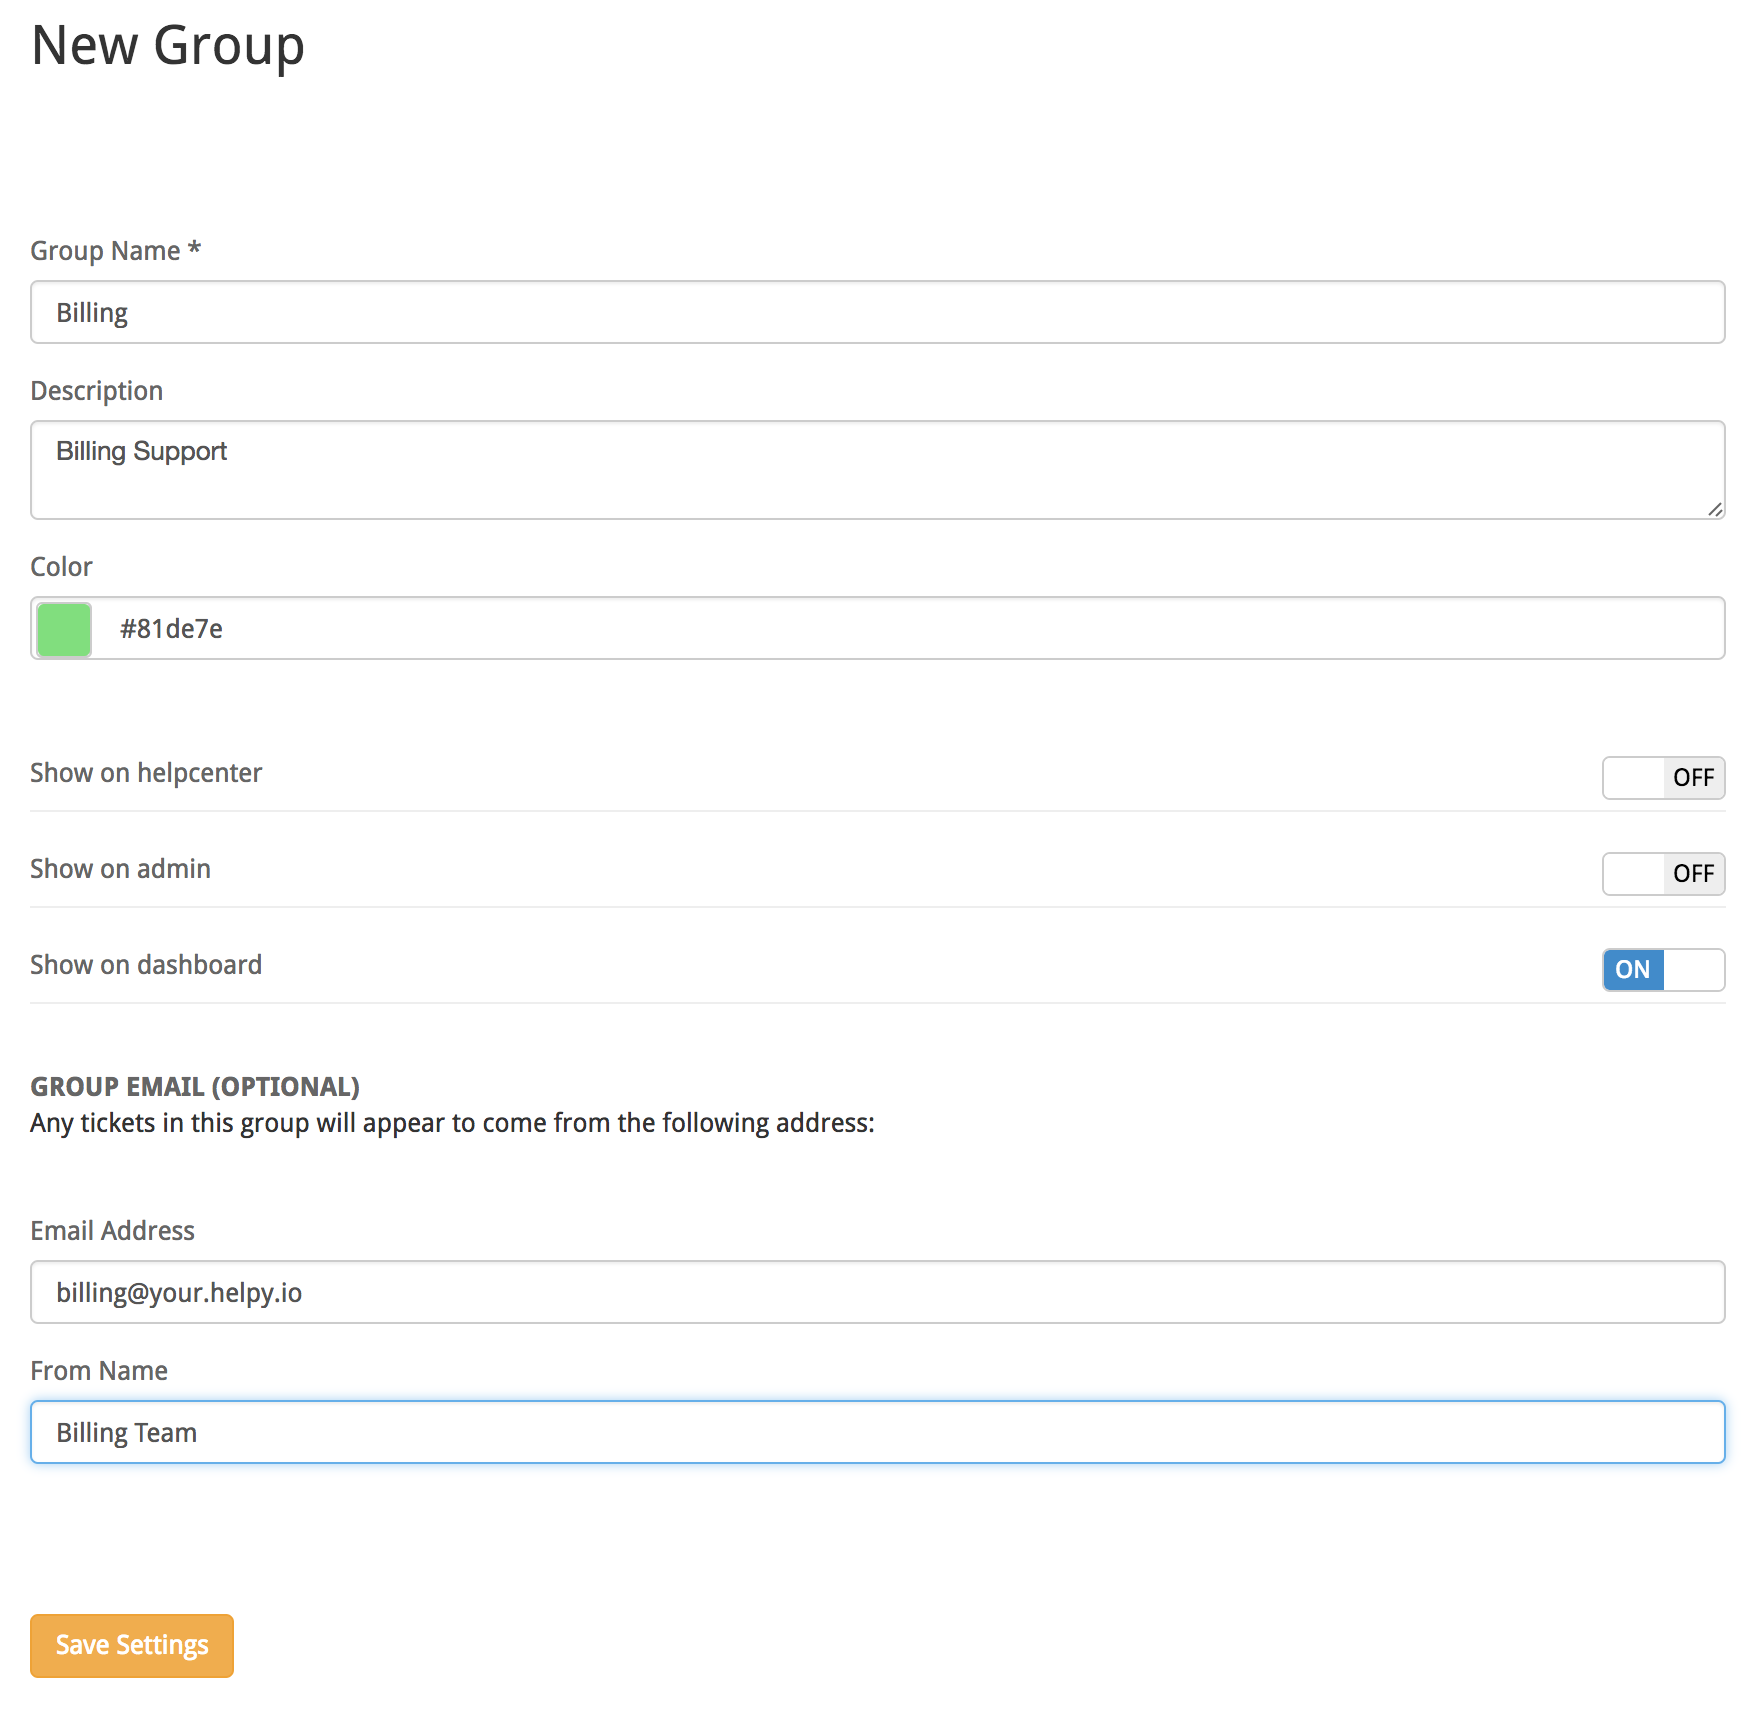
Name: This is the name of the group and how it will be represented throughout the system. Tip: Choose something short and descriptive like "billing", or "tier one"
Description: The description will provide a short explanation of what the group is for.
Color: Groups are automatically assigned a color when they are created. You can use this to provide your own color in place of the system designated color.
Email Address: If you provide an email address, Helpy will use this address for the "from" address when sending out replies for any messages assigned to the group.
Example: You decide to add a group for billing, and provide your billing address here. Any email communication sent to customers will be sent using your billing email address in the from address.
Email Name: Similarly, you can change the name displayed for emails sent from a given group.
Show on Helpcenter: Switching this on will enable the group to be assigned from the customer ticket creation form on the helpcenter.
Show on Admin: Switching this on will enable the group to be assigned from the admin panel ticket creation form.
Show on Dashboard: Switching this on will cause the group to be displayed on the group management dashboard (see below.)